


Self-drilling screws, also known as drill-point screws, feature an integrated drill bit at the tip. They eliminate pre-drilling and tapping procedures and can complete drilling, tapping and fastening in one single operation on plates, greatly boosting construction efficiency. These screws are mainly applied to fix color steel tiles on steel structures, thin sheets of light steel workshops and panels of simple buildings. Compared with ordinary screws, stainless steel self-drilling screws deliver superior tensile resistance and locking retention, so they stay tight for long-term service with higher safety. Self-drilling screws of different materials and sizes have distinct mechanical properties, which require corresponding installation parameters and procedures.
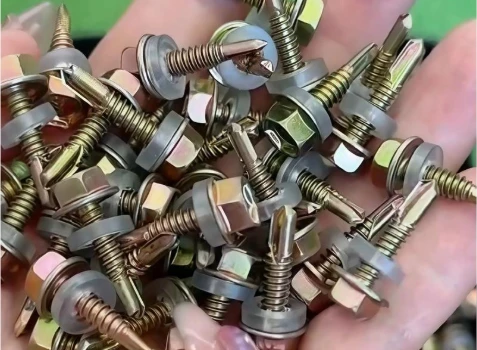
Standard Installation Steps for Stainless Steel Self-Drilling Screws
1. Tool Preparation
A dedicated high-power electric drill is required for installation, with a recommended rated power of no less than 600W to provide sufficient drilling power and prevent slipping, incomplete drilling and poor thread locking.
2. Adjust Drill Stop and Rotation Speed
Adjust the depth stop of the drill to a proper position to precisely control the penetration depth and avoid over-drilling or insufficient fastening. Match the rotation speed according to screw material and size as specified below:
410 stainless steel self-drilling screws Sizes 3.5(6#), 3.9(7#), 4.2(8#), 4.8(10#): 1800–2500 rpm Sizes 5.5(12#), 6.3(14#): 1000–1800 rpm
304 stainless steel self-drilling screws Sizes 3.5(6#), 3.9(7#), 4.2(8#), 4.8(10#): 1500–2000 rpm Sizes 5.5(12#), 6.3(14#): 1000–1500 rpm
3. Fit Bit and Screw
Select a matching socket or cross bit based on the screw head size, install it firmly on the drill chuck, and secure the self-drilling screw without offset or looseness.
4. Vertical Alignment and Spot Marking
Hold the drill and screw perpendicular to the surface of profiled steel sheets. Touch the plate lightly and trigger the drill momentarily to create a central positioning mark to avoid skewed holes.
5. Uniform Vertical Pressure
Apply a continuous vertical force of approximately 13 kg during operation, ensuring the force aligns with the drilling center line. Sideways force will cause drill bit breakage, thread slipping and plate deformation.
6. Continuous Drilling and Immediate Stop Upon Full Fastening
Keep the drill running continuously without intermittent stops during drilling, which may burn threads and cause locking failure. Once the screw fully fits against the plate surface and reaches the required tightness, stop drilling right away to avoid under-fastening, plate penetration and screw deformation.


